在 p5.js 中,我们通过在库的源代码中包含专门的注释,来编写你在 p5.js 网站上看到的参考文献页面上的代码参考。这些参考注释包括描述、函数签名(其参数和返回值)和使用示例。换句话说,每个 p5.js 函数/变量的参考页面上的内容都是从源代码中的参考注释构建的。
本文档将向你展示如何编写和格式化参考注释,以便最终能够正确地呈现到网站上。每当你编辑或编写任何 p5.js 函数或变量的参考时,都应遵循此指南。
关于参考注释如何工作的简要介绍
当你查看 p5.js 的源代码时,你会看到库中许多行都是参考注释;它们看起来像这样:
/**
 * Calculates the sine of an angle. `sin()` is useful for many geometric tasks
 * in creative coding. The values returned oscillate between -1 and 1 as the
 * input angle increases. `sin()` takes into account the current
 * <a href="#/p5/angleMode">angleMode</a>.
 *
 * @method sin
 * @param  {Number} angle the angle.
 * @return {Number} sine of the angle.
 *
 * @example
 * <div>
 * <code>
 * function draw() {
 *   background(200);
 *
 *   let t = frameCount;
 *   let x = 50;
 *   let y = 30 * sin(t * 0.05) + 50;
 *   line(x, 50, x, y);
 *   circle(x, y, 20);
 *
 *   describe('A white ball on a string oscillates up and down.');
 * }
 * </code>
 * </div>
 *
 * <div>
 * <code>
 * function draw() {
 *   let x = frameCount;
 *   let y = 30 * sin(x * 0.1) + 50;
 *   point(x, y);
 *
 *   describe('A series of black dots form a wave pattern.');
 * }
 * </code>
 * </div>
 *
 * <div>
 * <code>
 * function draw() {
 *   let t = frameCount;
 *   let x = 30 * cos(t * 0.1) + 50;
 *   let y = 10 * sin(t * 0.2) + 50;
 *   point(x, y);
 *
 *   describe('A series of black dots form an infinity symbol.');
 * }
 * </code>
 * </div>
 */
实际定义函数的 JavaScript 代码往往紧随其后。参考注释始终以 /** 开始并以 */ 结束,两者之间的每一行都以 * 开头。
这种形式的代码块中的任何内容都将被解释为参考文献。你可能通过 JSDoc 已熟悉这种样式的代码注释。虽然 p5.js 不使用 JSDoc,但它使用了一个非常相似的工具,叫做 YUIDoc,它具有非常相似的参考语法。在这种参考注释样式中,每个注释块进一步分成各个元素,我们将在下面看一下。
参考注释块
让我们解析上面 sin() 函数的参考注释块,并查看每个部分的作用。你可以将此处的注释与参考页面上的sin()进行比较。
/**
 * Calculates the sine of an angle. `sin()` is useful for many geometric tasks
 * in creative coding. The values returned oscillate between -1 and 1 as the
 * input angle increases. `sin()` takes into account the current
 * <a href="#/p5/angleMode">angleMode</a>.
在注释的顶部是函数的文本描述。此描述可以包含 markdown 语法和 HTML。描述应该简洁明了,描述函数的功能,并在必要时描述一些有关其性能或反常行为的细节。
 * @method sin
 * @param  {Number} angle  the angle.
 * @return {Number} sine of the angle.
函数通常具有上述三个部分,每个部分以 @ 符号开始,后跟以下关键字之一:
@method用于定义函数的名称,在本例中是sin(注意函数名称不包括括号())。@param用于定义函数接受的参数或参数。- 在关键字
@param之后,存储在花括号{}中的是参数的类型。 - 在类型之后,下一个单词(angle)是参数的名称。
- 名称之后,该行的其余部分是参数的描述。
- 在关键字
@return用于定义函数的返回值。- 在关键字
@return之后,存储在花括号{}中的是返回值的类型。 - 在类型之后,该行的其余部分是返回值的描述。
- 在关键字
对于参数,通常应遵循以下格式:
@param {type} name Description here.如果参数是可选的,请在名称周围添加方括号:
@param {type} [name] Description here.额外信息:常量
如果参数接受在 constants.js 中定义的一个或多个值,则类型应指定为 {Constant},并在关键字 either 后的注释中枚举有效值,例如:
@param {Constant} horizAlign horizontal alignment, either LEFT, CENTER, or RIGHT对于返回类型,应遵循以下格式:
@return {type} Description of the data returned.如果函数不返回值,则可以省略 @return 标签。
额外信息:链式
如果方法返回父对象,则可以跳过 @return 标签,并改为添加以下行:
@chainable其他签名
如果一个函数有多个可能的参数选项,则可以分别指定每个参数。例如,background() 函数有许多不同的参数选项(请参阅参考页面上的“语法”部分)。选择一个版本以使用上面的模板列出作为第一个签名。在第一个参考注释块的末尾,你可以添加额外的签名,每个签名都在自己的块中,仅使用以下示例中的 @method 和 @param 标签。
/**
 * @method background
 * @param {String} colorstring color string, possible formats include: integer
 *                         rgb() or rgba(), percentage rgb() or rgba(),
 *                         3-digit hex, 6-digit hex
 * @param {Number} [a] alpha value
 */

/**
 * @method background
 * @param {Number} gray specifies a value between white and black
 * @param {Number} [a]
 */
额外信息:多个签名
如果两个签名之间唯一的区别是添加了一个可选参数,则不必创建单独的签名。如果可能的话,请限制使用此功能,因为它可能会在参考文献中制造不必要的干扰信息或相似信息。
p5.js 变量的参考文献
到目前为止,我们已经看过了如何为函数和常量编写参考文献。变量遵循相同的结构,但使用不同的标签。
/**
 * The system variable mouseX always contains the current horizontal
 * position of the mouse, relative to (0, 0) of the canvas. The value at
 * the top-left corner is (0, 0) for 2-D and (-width/2, -height/2) for WebGL.
 * If touch is used instead of mouse input, mouseX will hold the x value
 * of the most recent touch point.
 *
 * @property {Number} mouseX
 * @readOnly
 *
 * @example
 * <div>
 * <code>
 * // Move the mouse across the canvas
 * function draw() {
 *   background(244, 248, 252);
 *   line(mouseX, 0, mouseX, 100);
 *   describe('horizontal black line moves left and right with mouse x-position');
 * }
 * </code>
 * </div>
 */
块的开始包含变量的描述(在该例子中是 mouseX)。为了定义变量的名称,我们使用 @property 而不是 @method。@property 的语法与 @param 类似,用于定义类型及其名称。大多数 p5.js 变量都带有 @readonly 标签,用于内部指示该值不应由库用户直接覆盖。
添加示例
sin() 和 mouseX 的参考注释中,都有一个我们还没有讨论过的 @example 标签。这个标签是你定义访问参考页面时运行的代码示例的地方。
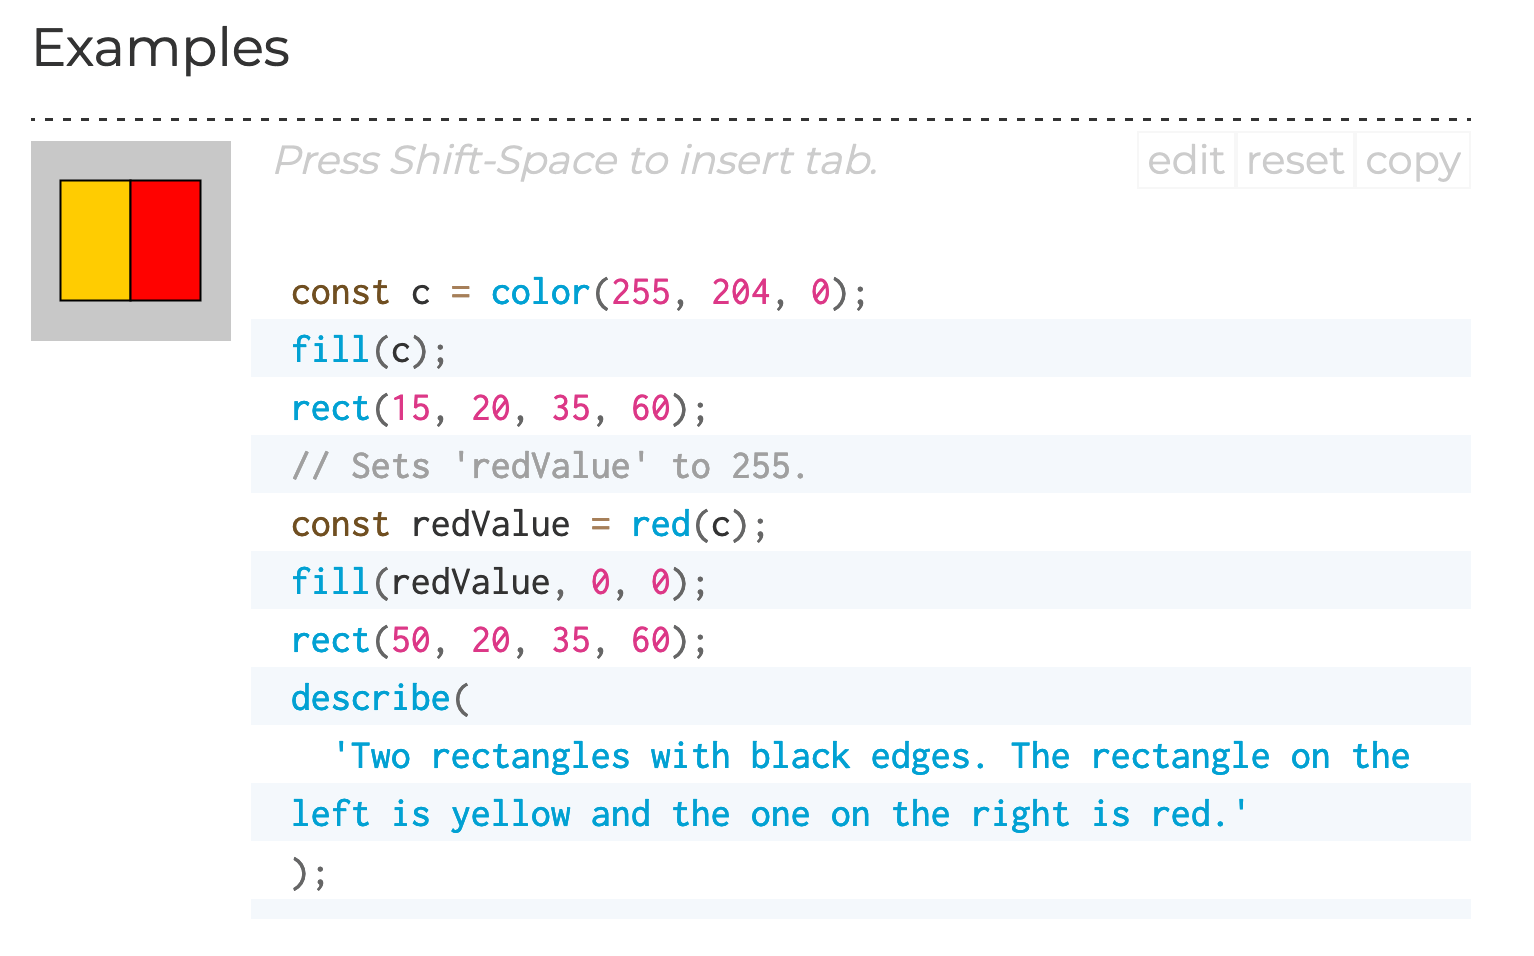
创建以上示例的相关 @example 标签如下:
 * @example
 * <div>
 * <code>
 * const c = color(255, 204, 0);
 * fill(c);
 * rect(15, 20, 35, 60);
 * // Sets 'redValue' to 255.
 * const redValue = red(c);
 * fill(redValue, 0, 0);
 * rect(50, 20, 35, 60);
 * describe(
 *   'Two rectangles with black edges. The rectangle on the left is yellow and the one on the right is red.'
 * );
 * </code>
 * </div>
在 @example 标签之后,你应该开始一个 HTML <div> 标签,后跟一个 <code> 标签。在开放和闭合的 <code> 标签之间,你将插入相关示例代码。编写参考示例代码的基本原则是保持简单和简洁。示例应该有意义,并解释功能的工作原理,而不会太复杂。示例的画布应该是 100x100 像素,如果没有包含 setup() 函数,例如上面的示例,则代码将自动包装在一个默认的 100x100 像素灰色背景画布中创建的 setup() 函数中。我们不会在这里详细讨论示例代码的最佳实践和代码风格;请参阅参考样式指南。
你可以为一个功能添加多个示例。为此,添加一个额外的 <div> 和 <code> HTML 块,直接放在第一个关闭后,中间用一个空行分隔。
* @example
* <div>
* <code>
* arc(50, 50, 80, 80, 0, PI + QUARTER_PI, OPEN);
* describe('An ellipse created using an arc with its top right open.');
* </code>
* </div>
*
* <div>
* <code>
* arc(50, 50, 80, 80, 0, PI, OPEN);
* describe('The bottom half of an ellipse created using arc.');
* </code>
* </div>
如果你不希望参考页面执行示例代码(即,你只希望代码显示出来),请在 <div> 中包含 “norender” 类:
* @example
* <div class="norender">
* <code>
* arc(50, 50, 80, 80, 0, PI + QUARTER_PI, OPEN);
* describe('ellipse created using arc with its top right open');
* </code>
* </div>
如果你不希望示例作为自动化测试的一部分运行(例如,如果示例需要用户交互),请在 <div> 中包含 “notest” 类:
* @example
* <div class='norender notest'><code>
* function setup() {
*   let c = createCanvas(100, 100);
*   saveCanvas(c, 'myCanvas', 'jpg');
* }
* </code></div>
如果你的示例使用外部素材文件,请将它们放入 /docs/yuidoc-p5-theme/assets 文件夹中(或者重用其中已有的文件),然后在代码中使用 “assets/filename.ext” 链接到它们。请参阅 tint() 参考示例。
使用 describe() 添加画布描述
最后,对于你添加的每个示例,都需要使用 p5.js 函数 describe() 来创建一个屏幕阅读器可访问的画布描述。只包括一个参数:一个字符串,其中简要描述了画布上发生的事情。
* @example
* <div>
* <code>
* let xoff = 0.0;
* function draw() {
*   background(204);
*   xoff = xoff + 0.01;
*   let n = noise(xoff) * width;
*   line(n, 0, n, height);
*   describe('A vertical line moves randomly from left to right.');
* }
* </code>
* </div>
*
* <div>
* <code>
* let noiseScale = 0.02;
* function draw() {
*   background(0);
*   for (let x = 0; x < width; x += 1) {
*     let noiseVal = noise((mouseX + x) * noiseScale, mouseY * noiseScale);
*     stroke(noiseVal*255);
*     line(x, mouseY + noiseVal * 80, x, height);
*   }
*   describe('A horizontal wave pattern moves in the opposite direction of the mouse.');
* }
* </code>
* </div>
有关 describe() 的更多信息,请访问 网络无障碍贡献者文档。
以上就是你编写和编辑 p5.js 参考注释的大多数方法。然而,还有一些 JSDoc 样式参考注释的更多专门用法,你可能会在 p5.js 中遇到。这些在某些情况下很有用,但通常不是你经常需要的东西。
@private 标签
如果属性或变量是私有函数或变量,则可以使用 @private。如果将功能标记为 @private,则不会将其作为渲染的参考的一部分包含在网站上。使用 @private 标签将参考注释块标记为私有的原因是当你记录库本身的内部功能时。例如,参考下面的 _start 的参考注释:
/**
 * _start calls preload() setup() and draw()
 *
 * @method _start
 * @private
 */
p5.prototype._start = function () {
@module 和相关标签
每个源代码文件的顶部都将有一个 @module 标签。模块对应于 p5.js 中的一组功能,在网站上呈现的渲染的参考页面将这些功能分成相应的部分。在每个模块中,使用 @submodule 标签定义额外的子模块。
@for 标签定义此模块与整体 p5 类之间的关系,有效地表示此模块是 p5 类的一部分。
@requires 标签定义当前模块依赖的所需导入模块。
/**
 * @module Color
 * @submodule Creating & Reading
 * @for p5
 * @requires core
 * @requires constants
 */
p5.js 遵循的约定是 src/ 文件夹中的每个子文件夹将是一个 @module,而子文件夹中的每个文件将是该子文件夹的 @module 下的一个 @submodule。除非你正在向 p5.js 源代码添加新的子文件夹/文件,否则你不应直接编辑此参考注释块中的文件。
@class 标签
使用 @class 标签和 @constructor 标签定义类构造函数。此块的格式类似于使用 @method 块定义函数的方式,类的名称将需要使用 @class 标签定义,而 @constructor 标签将指示类具有构造函数。参见下面的示例 p5.Color 类:
/**
 * A class to describe a color. Each `p5.Color` object stores the color mode
 * and level maxes that were active during its construction. These values are
 * used to interpret the arguments passed to the object's constructor. They
 * also determine output formatting such as when
 * <a href="#/p5/saturation">saturation()</a> is called.
 *
 * Color is stored internally as an array of ideal RGBA values in floating
 * point form, normalized from 0 to 1. These values are used to calculate the
 * closest screen colors, which are RGBA levels from 0 to 255. Screen colors
 * are sent to the renderer.
 *
 * When different color representations are calculated, the results are cached
 * for performance. These values are normalized, floating-point numbers.
 *
 * <a href="#/p5/color">color()</a> is the recommended way to create an instance
 * of this class.
 *
 * @class p5.Color
 * @constructor
 * @param {p5} [pInst]                  pointer to p5 instance.
 *
 * @param {Number[]|String} vals        an array containing the color values
 *                                      for red, green, blue and alpha channel
 *                                      or CSS color.
 */
生成和预览参考文献
p5.js 存储库已经设置好,可以生成和预览参考文献,而不需要构建和运行 p5.js 网站。
- 从源代码中的参考注释生成参考文献的主要命令是运行以下命令。
npm run docs这将生成必要的预览文件和主 docs/reference/data.json 文件,这个文件(在缩小后)将用于在网站上呈现参考页面。
- 为了持续修改完善参考文献,你可以运行以下命令。
npm run docs:dev这将启动一个渲染参考文献的实时预览,每次你进行更改时都会更新(你需要在进行更改后刷新页面才能看到它们)。对于在浏览器中预览示例代码来说,这特别有用。
- 主要的模板文件存储在
docs/文件夹中,在大多数情况下,你不应直接更改此文件夹中的文件,除非是要在docs/yuidoc-p5-theme/assets文件夹中添加新的文件。